Disclosure: We attended the workshop for free but were not otherwise compensated for this post. This post contains affiliate links.
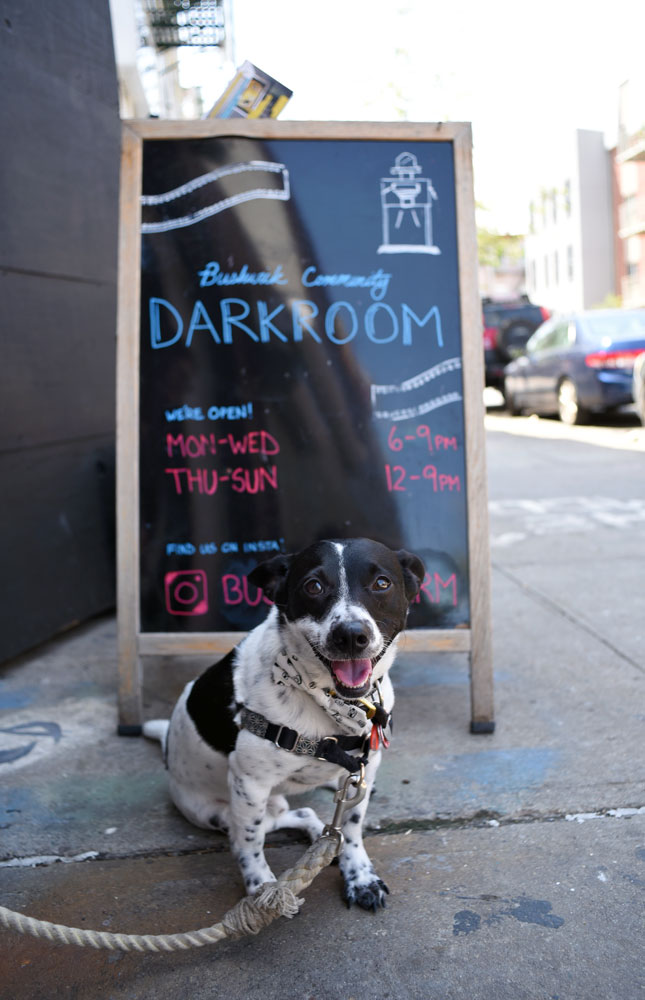
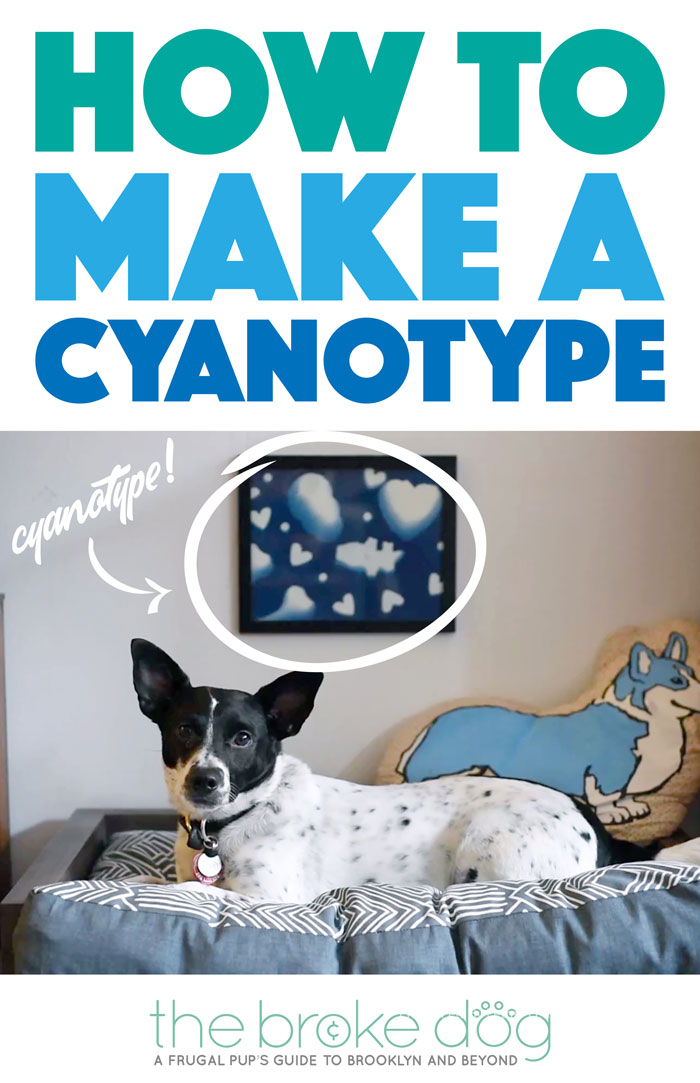
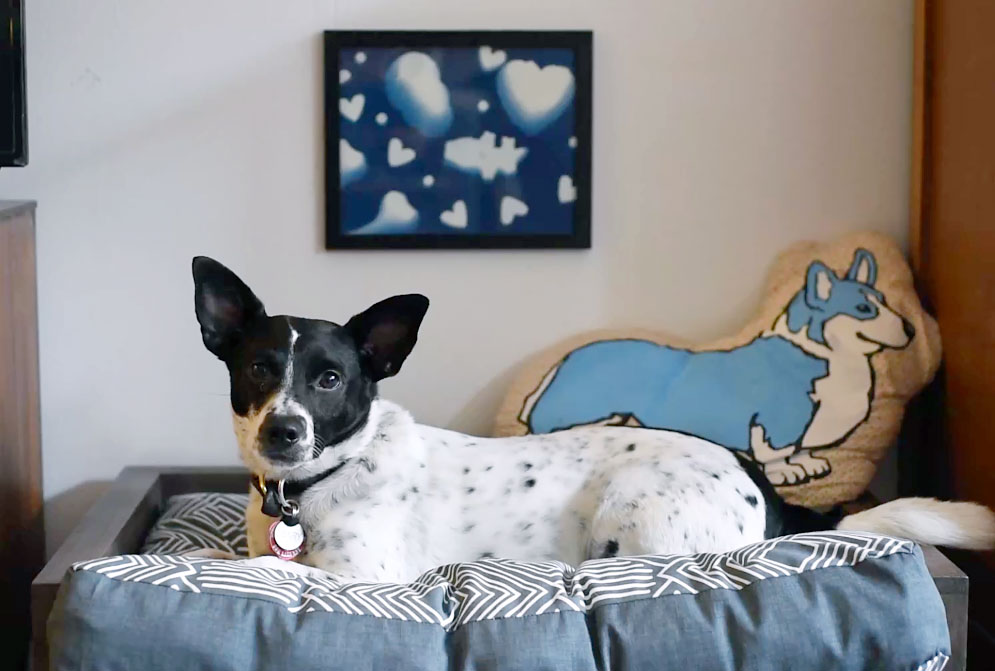
A few weeks ago, my pal at Bushwick Community Darkroom in Bushwick, Brooklyn invited me to attend a cyanotype workshop for local bloggers. “Sure!” I said. “Can I bring Henry?” Check out how to make a cyanotype and make your own adorable dog-themed print to hang above your dog’s bed!
What’s a Cyanotype?
A cyanotype, or a sun print, is a type of photographic print that utilizes prepared paper and the sun’s light. According to Wikipedia, it was discovered in 1842 by Sir John Herschel. A sheet of paper is prepped with a solution of potassium ferricyanide and a ferric ammonium citrate. As suggested by the name “cyanotype,” the resulting print is blue by default.
How Can I Make A Cyanotype?
It’s super easy, especially since you can buy speciality paper that has already been prepared with the chemical solution! We’re going to walk you through the step to make a fun and decorative dog-themed print. For detailed instructions, watch our video at the end of the post.
Here are some paper options available on Amazon:
Disclaimer: This product contains chemicals. While they are generally considered safe, please exercise caution. Do not allow your dog to eat treats that have touched the paper. Do not allow your dog near the paper, or to use toys that have touched the paper without a very thorough washing. If you have any concerns, consult or see a vet. Be alert and careful, and keep an eye on your dog!
The directions on your kit may differ from the following — when in doubt, follow those!
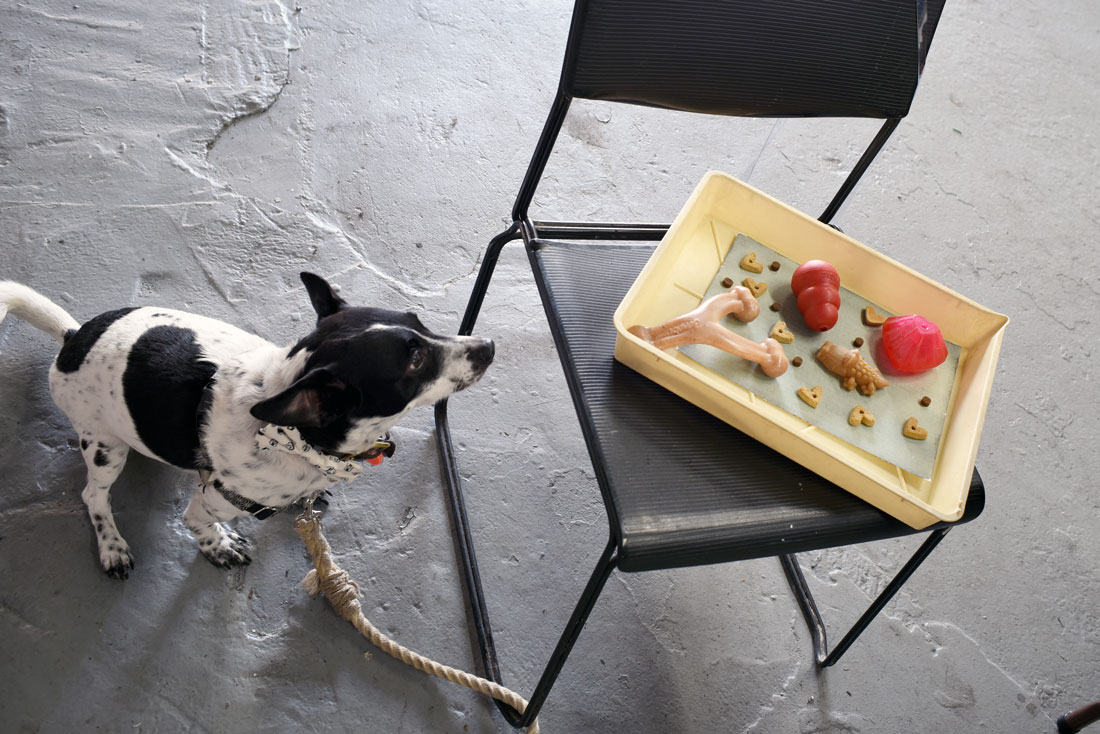
1.) Find a Hard Surface and Choose Items
Try a tray, baking sheet, or book. Make sure you can easily move it (and, if it’s a baking sheet, easily wash it). Choose a few dog-themed items with interesting shapes. Make sure you can either wash or throw them out after the DIY is over.

2.) Lay Out Your Items
Lay a sheet of the prepared paper on your flat surface, then arrange your items in an aesthetically pleasing way.
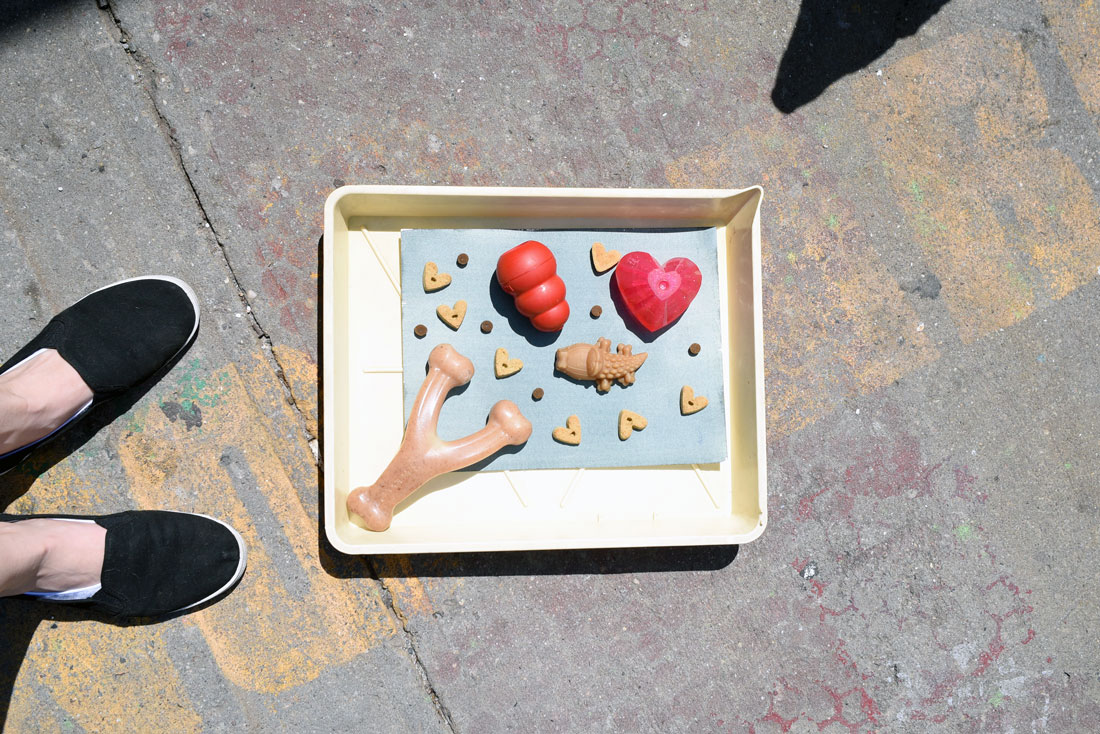
3.) Sun Time!
Lay it in the sun for several minutes, making sure not to jostle the items. If the items move, the shapes won’t be as crisp. Check your kit for the recommended time.

4.) Rinse
Rinse your paper with water, following any directions on the package. This is when it really turns blue!
5.) Dry
Let it dry! This may take a while. Be sure to throw out any treats and thoroughly wash any toys that you used.
6.) Hang!
Find a lovely spot in your home to hang your new creation!
Want to See The Process Step By Step? Check Out Our Video!
Music credit: bensound.com
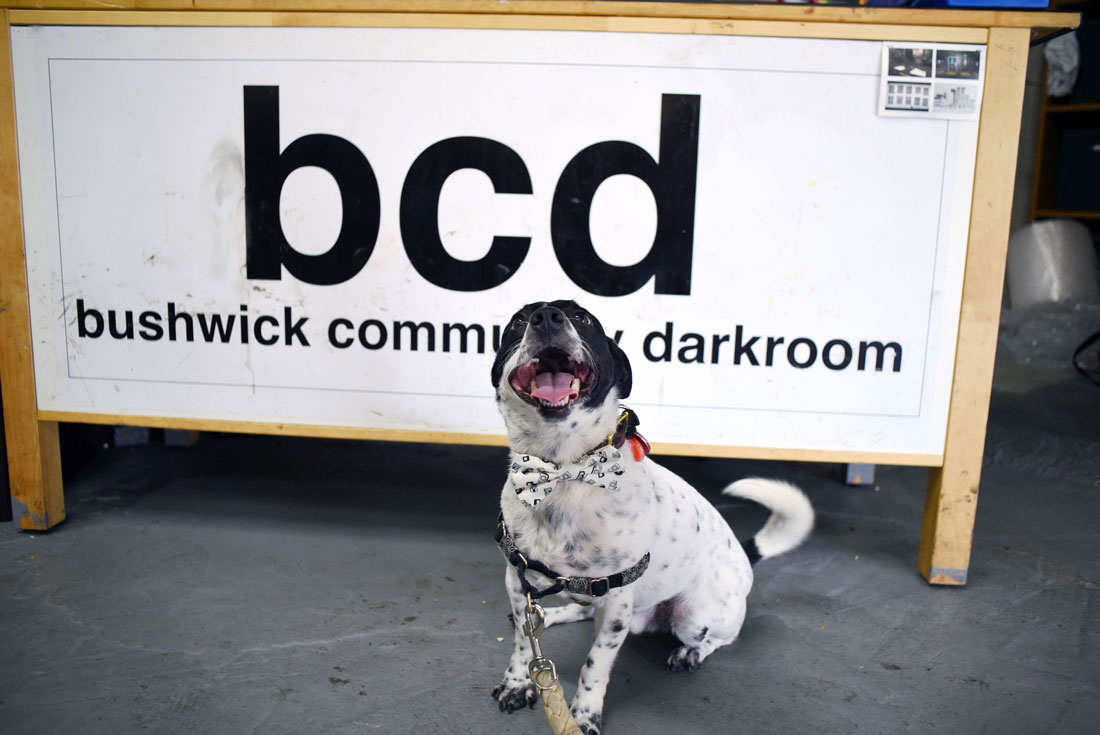
About the Bushwick Community Darkroom
The Bushwick Community Darkroom offers film development, events, workshops and classes, darkroom rentals, and memberships in a 2,500-square-foot warehouse on Troutman Street in Bushwick, Brooklyn. You can learn more about its awesome varied offerings at the Bushwick Community Darkroom website!